
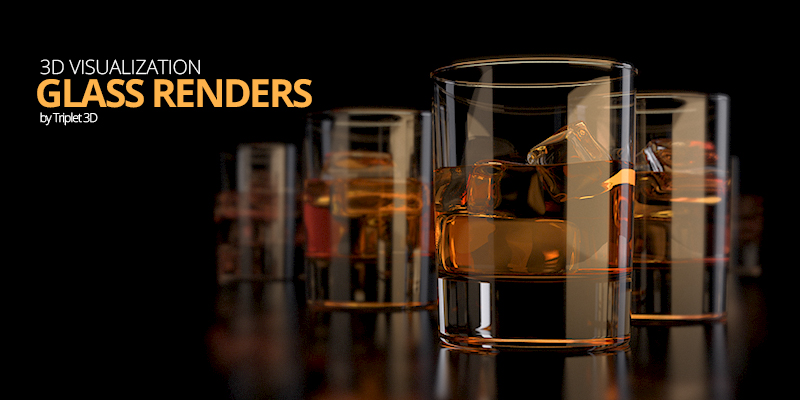
3D Visualization: Glass Renders in Cinema 4D
Over the past several weeks, I’ve been experimenting with rendering glass materials in Cinema 4D. Below is an explanation of my process.
Materials
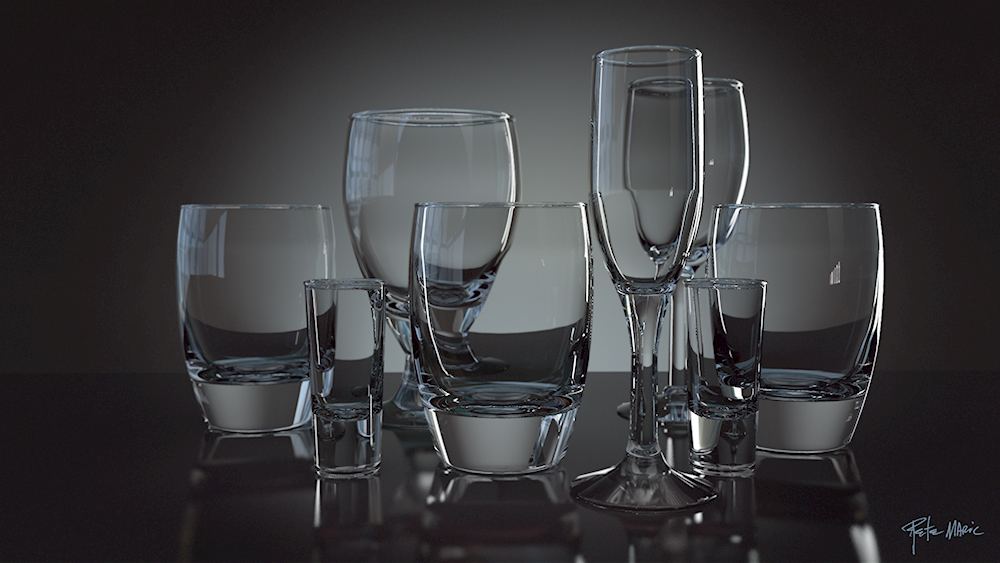
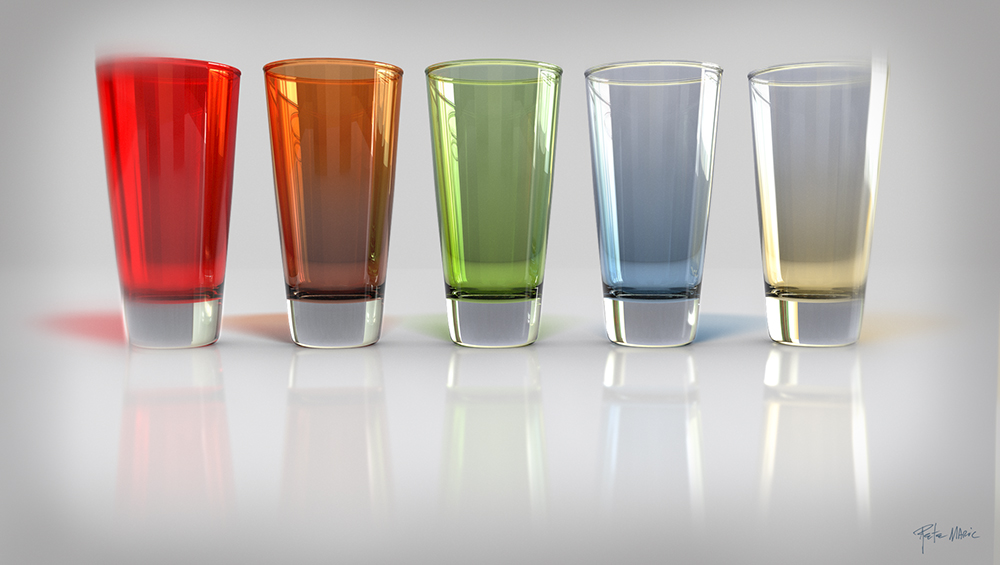
One of the things I learned was the simpler the scene, the better the result. Initially I played around with materials that had multiple attributes for glass; color channel, reflection, reflection color, transparency, bump maps, specular highlights, etc. Once I simplified the glass material and scene, it looked much more realistic. In the glass material, I turned off color, reflection, and specularity. I enabled the reflection channel only and turned up the index of refraction to a value of 1.52.
Environment
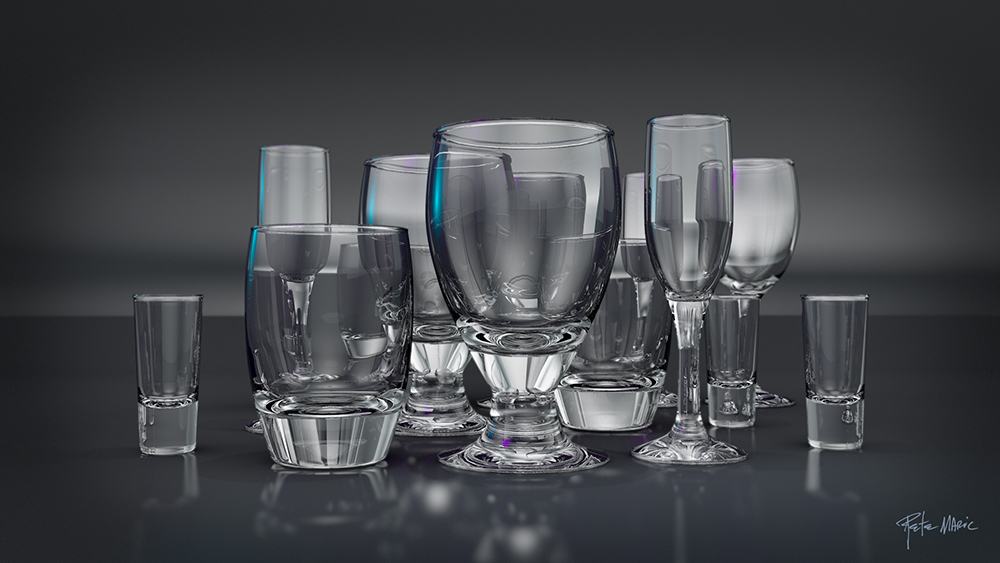
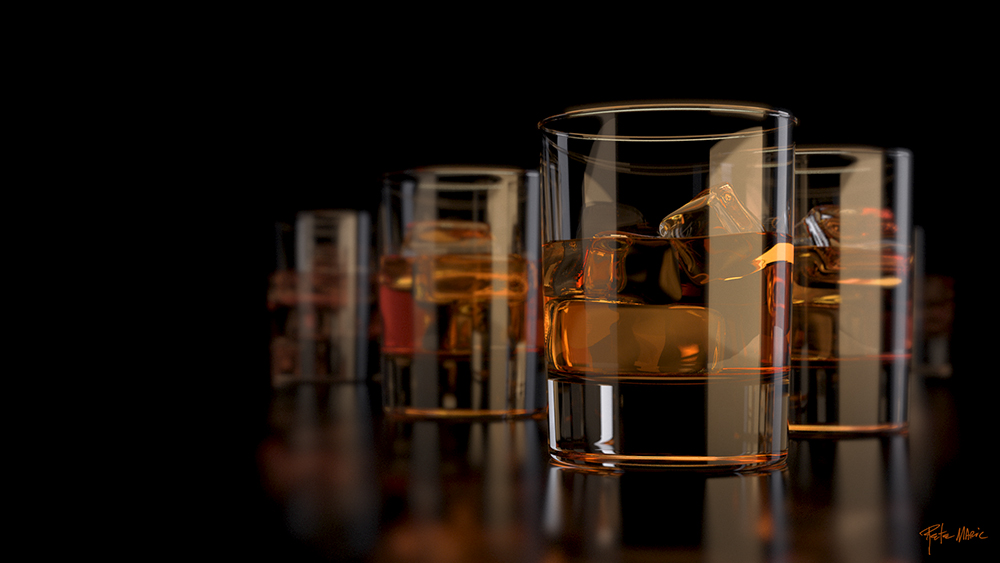
I kept the scene setup as simple as possible using one plane for the floor and one plane for the background. In most of the renders, the floor plane uses blurry reflections. In my first few glass scenes, an HDRI image was used to create realistic reflections in the glass. This method works well, but can be a bit much in certain situations.
Lighting
Once I started experimenting with the more advanced features of the lighting tools and deleted the HDRI setups, the scenes really started coming together and looked more realistic. Using area lights with reflection visibility enabled in the details tab allowed me to better control my highlights. Additionally, using the lighting tool and placing my specular highlights exactly where I wanted them helped as well.
Shadows
For most of my 3D visualization work, I enable shadows to help visually ground objects to the floor. For this series of glass renders, most of the scenes did not need shadows enabled. On the scenes with dark backgrounds, enabling shadows was pointless because they would not be seen in the final image. For scenes with lighter colored backgrounds and blurry floor reflections, shadows tended to clutter up the image. Turning off area shadows also decreases render time, that’s always a good thing.
Depth of Field
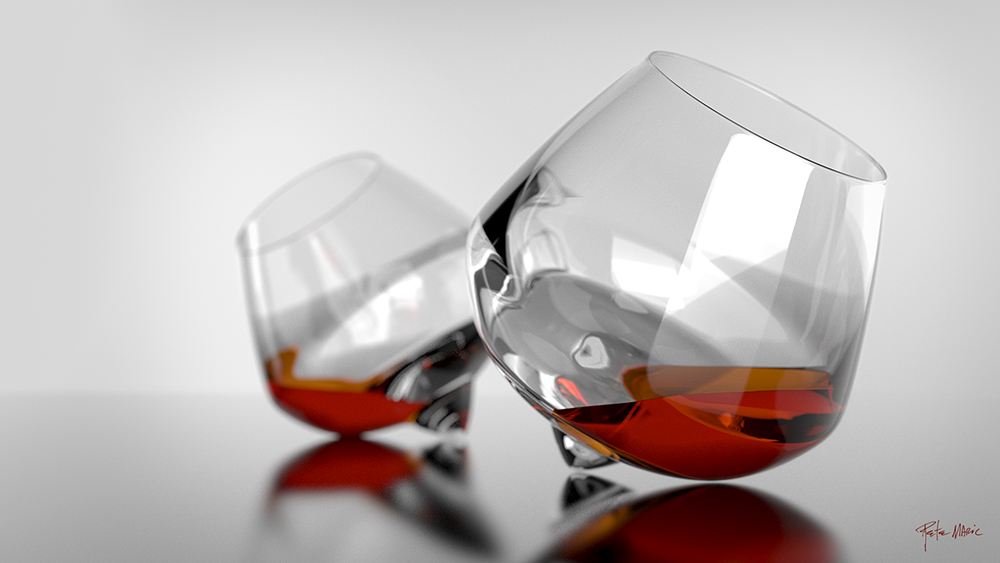
About half the renders shown here use a fake depth of field created in post-production with a variety of methods; gaussian, motion, or lens blurs. The images look more realistic when depth of field is enabled in the 3D environment but also take longer to render. To achieve more realistic depth of field inside Cinema 4D, I dragged the closest glass object into the camera’s ‘focus object’ field then enabled DOF in the physical render engine.
Rendering and Post-Production
For these 3D visualizations, I used Cinema 4D’s physical renderer with multi-pass layers. I also created an alpha channel for all the glass objects by using a compositing tag and adding an extra object buffer layer to the multi-pass render. For the post-production stage, again I tried to keep things as simple as possible. The first step was to delete any multi-pass layers that were not necessary to the final image. I then duplicated the reflection layer in Photoshop and added a bit of gaussian blur and turned down the opacity. This gives the highlights a subtle ‘bloom’. To finish off these images, I created separate layers for sharpening and grain.
Enjoy.
Download sample scenes here: Glass_Renders

There are 33 comments so far
Leave a Comment
Contact Info
Payments Accepted

Get Social
Beautiful Renders, I really like your illumination, how do you do that? and… can you give me a tip for cast shadows in a glass material?
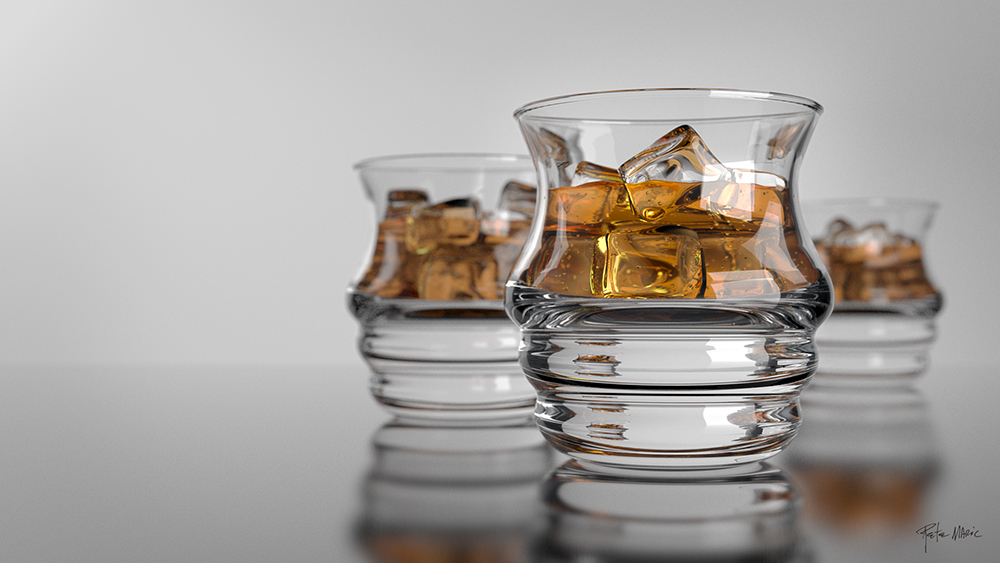
Thank you. For the last render, I simply used a point light and enabled the ‘visible light’ function, then adjusted the radius of the visible light until it looked accurate. The glass material was super simple only using the transparency (refraction set to 1.52) and transparency channels.
Cast shadows, these get a little tricky with glass materials. I rendered all of these images using the multi-pass layers. In Photoshop, I duplicated the shadow pass multiple times until I the shadow looked good.
Very realistic rendering, get, cool! And you can show what you are made for light settings Details and Visibility? And with the help of which you produced render?
Hi Alex, thank you for the feedback. Every one of these renders has slightly different settings. Let me know which one you are interested in and I’d be happy to share my light and renders settings with you.
Hi Pete! If it’s not too much trouble you would be very happy! At the moment, your render glass made in cinema 4d of the most realistic I’ve seen on the Internet.
I for example was not able to achieve such high-quality glass reflection, as in your example 04_Glass_Triplet_3D and 09_Glass_Triplet_3D. A similar effect is obtained only with HDRI but the glass when rendering becomes natural color and very dark. I apologize for the bad English language is spoken.
Hi Alex, I’ll send you my scene files via email. This should help clarify the render setting I used.
HI Pete Maric
When browsing for realistic render in C4D, i’ve seen your website. Really very impressed by your renders.
All these without vray ?, How possible ?
Is it possible to get your courses, tutorials or even tips to such rendering.
Thanks
Hi Olivier,
Thank you for the comments. There are so many courses on achieving realism without the use of Vray. I learned how to create these by watching this course and would highly recommend it: http://www.lynda.com/CINEMA-4D-tutorials/Digital-Product-Photography-CINEMA-4D/.
Ok, thanks a lot
Do you recommend the same tuts for architectural visualisation ?
Nope. Architectural Visualization is a completely different rendering set-up that usually requires global illumination, ambient occlusion, and multi-pass layers. There are substantial differences between rendering products vs architecture. Products are usually rendered to look like they are in an indoor studio. With Arch Viz I usually use a direct light (sunlight) as the primary light source with HDRI sky for window reflections and fill lights to brighten up dark areas. If I ever get around to it, I might do some arch viz tutorials.
Hi Pete,
Looks great this images=)…
I’m making an image with glass but i’m with problems with shadows, any chance to send you an image that you can tell me you opinion and what i’m doing wrong.
THanks
Thanks Paulo,
Absolutely, send me an image to [email protected]. I’d be happy to take a look at it for you.
Hello,
Your renders look fantastic. Have you done any with caustics?
Cheers
Hi Marko, thanks for the kind words. All of these renders were done without caustics to save on render time. I’d like to experiment a bit more with caustics on future projects. Do you know of any good tutorials on caustics in C4D?
Hi Pete,
I stumbled across your website whilst researching how to make realistic glass animations in c4d. I love your images. Would you mind sending me your project file so I can see were I am going wrong? Im attempting to make an exploding wineglass animation, but the specular highlights and reflections don’t look accurate right now. Its also killing my render time because I am using ambient occlusion and global illumination. Thank you!!!
Thank you Gareth. Not a problem, I will send you a few files shortly, check your email.
Hi Pete, like Gareth above, I discovered your website through a ‘cinema 4d product visualisation’ google search where your glass images appear high in the search results but stand out by their sheer quality! Great use of depth of field and clean environments. I particular like images 1, 4 and 5. I wondered if you could share your project files so I could get some pointers and steer me away from light kit pro & long GI renders! 😀 ….thanks in advance
no worries, just sent you the files.
hi peter, your work is amazing man i really like it. I just found the web looking for how i could light my scene to get a nice result mainly with the glass. Thank you for sharing and hope to get more of these great things. If possible you could give those files that would helpful enough. Thanks
thank you! files sent to your email.
Great work! Impressed by your works.
I’m working on one project: a bottle of mineral water with droplets on the surface, and I want to optimize the render time, can I get the project files? Maybe they can help me reduce the visualization time.
Thank You.
You have access to the files within the blog post where it reads ‘Download sample scenes here: Glass_Renders’. Enjoy.
Thank you.
I uploaded and rendered. Great work. Despite the small noise caused by caustics everything is fine. Considering the sufficient amount of glass and the size of the image (2000×1125), the render time (on my PC 35 min.) is still quite acceptable. Bravo. I have already started to study your example. Thanks again.
Wow these are so amazing, the best glass renders i have seen in my life. You are so good. will really love to learn more from you if you wouldn’t mind 🙂
Thanks Edwin, much appreciated. I do have a skillshare page if you are interested in learning more. https://www.skillshare.com/user/petemaric/teaching
Hi Pete,
I found this website while I was looking to render glass objects for a college project. Your work is amazing. Can you give me some tips for rendering images like number 3,4,5,7? Or maybe could you share your project files?
Thank you very much
Hi Elisa, the project files download is located in the description. Basically all the scenes are set up with similar light and render settings, just the materials and light intensity are adjusted per scene.
Hi Peter,
Your method very usefull on this commercial project.
https://www.behance.net/gallery/59068053/BRANDING-PACKAGING-KATI-Mineral-Water-(MALI)
Glad you found it useful Olivier, your project looks great!
Hi Peter,
Id just like to start and say this is some awesome work.
I usually work on engineering projects with C4D and have been tasked to create some glass product renders on a plain white background. Your sample files here are really useful but I and struggling to replicate the sample you have shown above of the four clear glasses.
Can you give me a steer on how to adjust your download scene to achieve this.
Many thanks….
Peter
Thank you Peter, I appreciate the feedback.
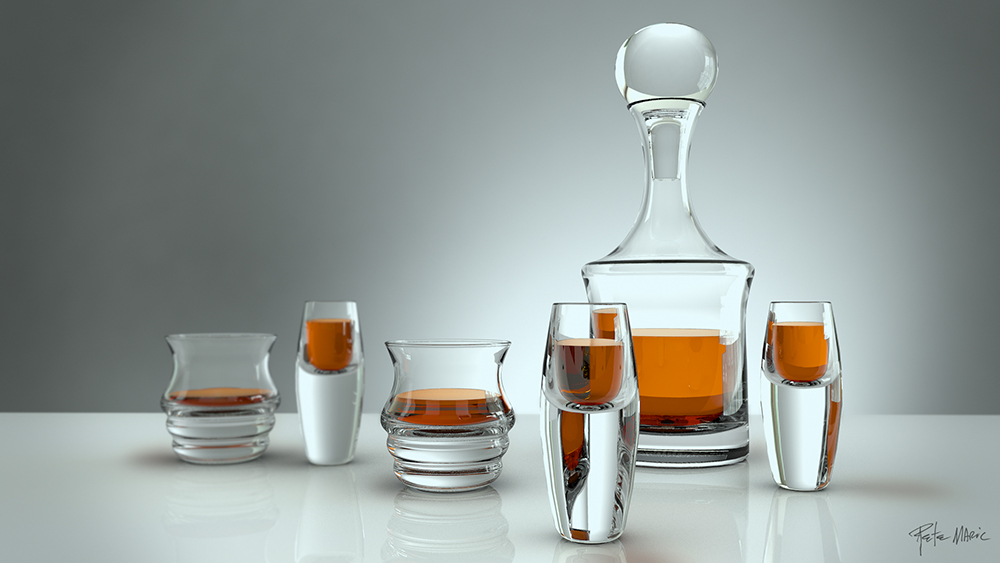
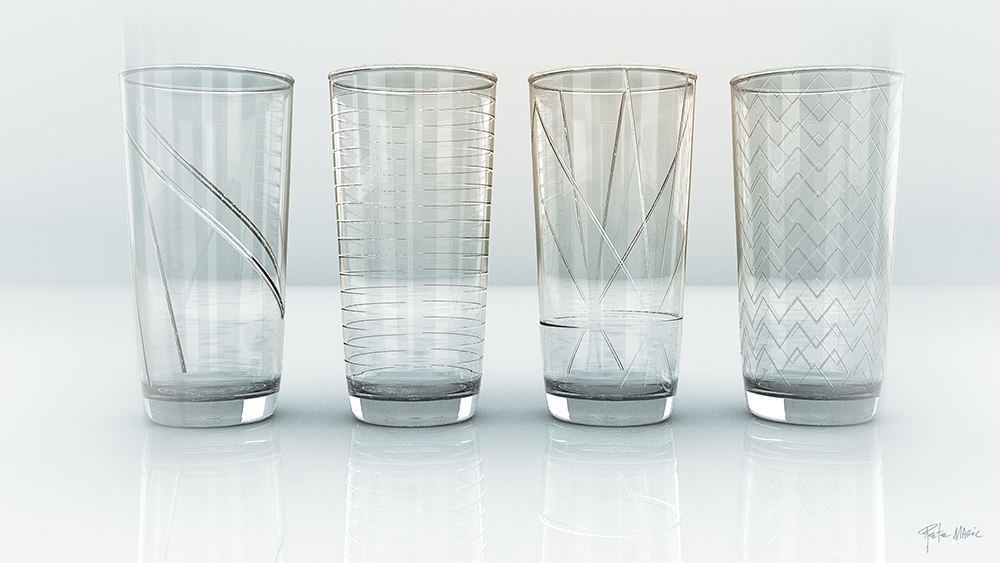
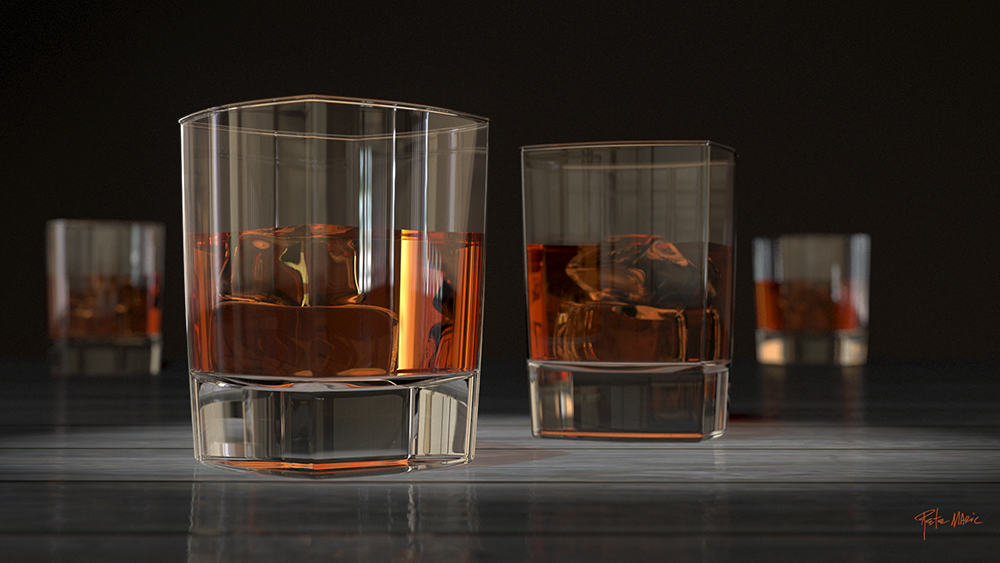
For the render showing four clear glasses, the main things I did for these are as follows:
1) Changed the background color to white (85% value).
2) Added bump to each material. In the bump channel > texture > surfaces > tiles. Then play with the different tile presets; pattern > brick, sawtooth, tile, etc.
3) In Photoshop, I added the blur on the edges using a motion blur.
Hope this helps.
Really amazing job, I guess everybody here envy your skills, including me. Will be too much to ask you if you can share your files? It will help me a lot to understand how to achieve a realistic glass material
Thank you! The files are already shared within the blog post where it reads ‘Download sample scenes here: Glass_Renders’.